As daunting as creating your own training video may be, with today’s technologies, it has become a lot cheaper and effective than the alternative – creating booklets or handbooks.
Not only is a training video more viable, but it is also far easier to distribute. Once completed, the video can be hosted for free on Youtube then the link embedded on your website for easy access for your trainees. Not only that, if desired, the clip can be made public for the massed to watch.
It has never been a better time to try your hand at shooting your own training clip since video quality of smart-phones is becoming as good as your average DSLR camera. This is coupled with increasingly better free versions of basic video editing platforms.
 Before you get started, planning is crucial. Remember this isn’t a sales video. Keep to your objective of delivering concise information. With training videos – keep it simple. You first need to figure out what your end product is going to be (your training message), then reverse engineer what needs to be done in order to figure out how you are going to execute the project.
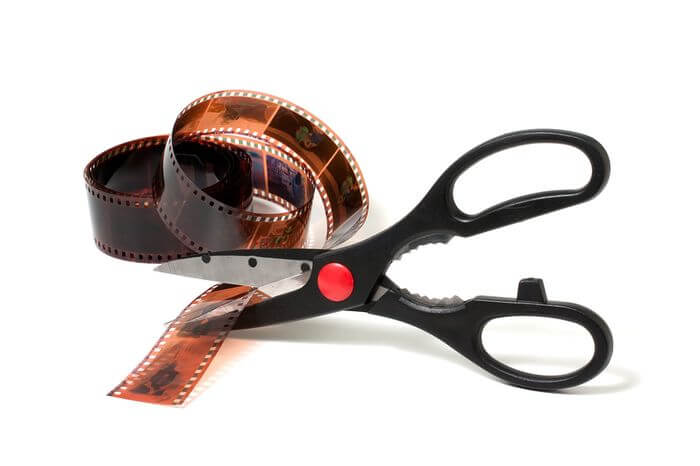
Start with the script and basic storyboarding. Remember that roughly 180-200 words fit into a minute of audio/video, so be sure to get to the point and boil your script down to the bare bones of what needs to be said. Be sure to avoid a ‘lengthy’ introduction.
With that in mind, you need to know that short videos are by far more effective than ‘long’ videos. By this I mean an ideal length is no longer than 2 minutes. Anything over that will lose an audience’s attention.
If you find that it will be impossible to keep your video that short, then your only other option is to break your videos up into smaller bite-sized clips that are searchable through a table of contents.
Now it’s time for the actual filming. First of all, get yourself a decent external microphone. Any built-in mic that either comes with a DLSR or your new smart-phone won’t cut it.
If you can’t decide what type of location you want to film, you should consider a green screen. This can be done by simply draping some green fabric on your wall, or alternatively, painting your wall using some cheap household paint. From there it is easy to superimpose your chosen background in the editing process. Important: it is crucial to make sure the lighting of your green screen is completely even. Any ripples in your fabric will show – as well as shiny reflection on certain areas.
Next get yourself a tripod. Getting your friend or colleague to hold the camera by hand will produce shaky results – even if they proclaim to have a steady hand (even if the device has image stability). If you don’t want to pay for a tripod, or you are having trouble finding one that will hold your phone, find yourself a ‘gorilla grip’ – this fits any device and has octopus-like fingers that will bend around anything (like a door handle, a chair, or an ironing board etc). They can be found on ebay and are as cheap as it gets.
Take a lot of footage from different angles. Trust me, having too much footage is way better than not having enough.
Upload it to your favourite post-production software and begin with trimming the raw footage. Add the components you like the most into one folder, then the secondary content into another, then delete the bloopers. From there attempt to boil down the ‘gold’ into another folder. The important thing will be to divide everything into different folders so the footage could be readily be revisited to be able to begin to piece together your training video.
In case you discover you did nicely with filming the raw content, but appear to be too occupied to cut it yourself, send the content to an expert to complete the clip for you.
Don’t forget – the idea of a training clip is to educate and inform. Ensure that it stays uncomplicated, straightforward, timely and to the point.